
Types of pathsUpdated 20 days ago
Once you’ve learned all about the measuring options you have at your disposal, it’s time to find out what a Path type is and what they are used for.
In this chapter, you will learn:
- What's a Path?
- Types of Paths
- How to change Paths - while measuring and after measuring
What’s a Path?
A Path is just a way of viewing the connection between points. Measurements can be made up of multiple Paths and you can change them while you measure or after your measurement is complete.
You will find Path types under the “Closed Shape and “Open Shape” sections in the main menu.
By default, the Path type is set to ‘Straight Line’. However, this is something that you can change in the Moasure settings. To do so, please follow these steps:
Go to the Moasure app;
Tap on Settings;
Tap on measuring options;
Tap on Other Settings;
Select the path type you like for future measurements (Last used, Straight Line, Trace Line, Wall, Ignore Line, Arc or Circle).
Types of Paths
There are six types of paths:
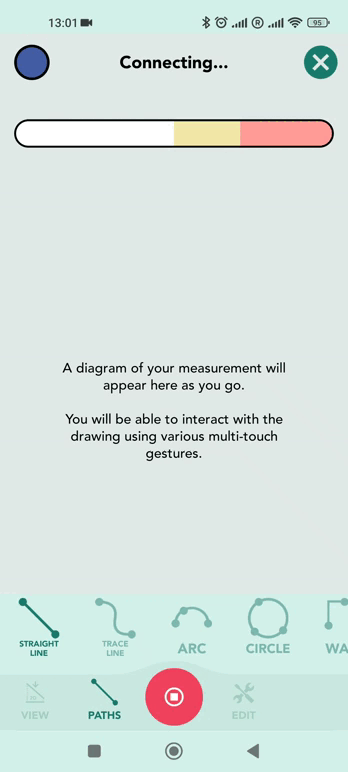
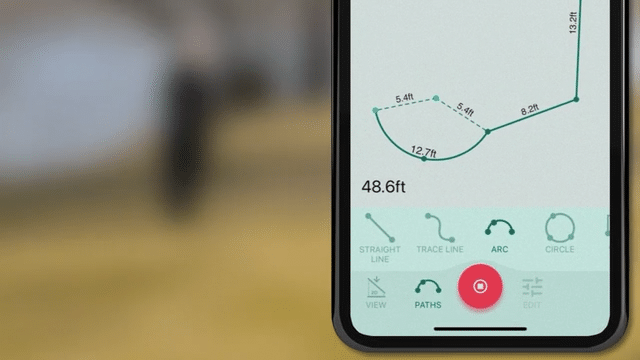
Straight Line
Straight Line is the most common Path type you will use and the default when measuring. This simply connects each pause point with a straight line.
Trace Line
Trace Lines will show you the precise movement you made as a curved line between the pause points.
Circle
Circle mode will display the best fit circle that goes through as many of the points you measured as possible.
Wall
Wall path is a very special, powerful mode for producing floor plans. Just place your Moasure device on each of the walls you want to measure as you walk round the room, making sure to finish on the same point on the first wall as you started. Moasure will then produce an accurate floor plan. Check out this video to learn more: https://www.moasure.com/pages/wall-mode-tutorial
Arc
Arc paths will show the best fit Arc for all the points in the path.
Ignore Line
Ignore Line is a special type of Path. The points in this Path will be ignored and won’t be captured in your measurement. You can use this path if you need to walk a long distance that you don’t want recorded.
How to change paths
As we mentioned earlier in this chapter, you can change paths while you measure or once your measurement is complete. Let’s learn how to do that!
While measuring
Wait until the device is completely stationary, ready to capture a point;
Once the LED turns green (meaning you can now keep moving), tap on Paths;
Choose the Path type you would like to use for your next point to be captured;
You can start moving again.
Reminder: you can only change path types when you are at a ‘Pause Point’ and the device is completely stationary.
After a measurement is complete
Although it’s advisable to change paths while measuring, you can still do this after a measurement is complete by using the Edit Path Tool. This will allow you to edit any path along the route.
Tap on Edit;
Tap on Edit Paths (this will automatically select all the Paths);
Alternatively, you can Split Paths by clicking on each coordinate. This will separate the Paths.
Select the Path you would like to change;
Tap on Change Path Type;
Choose the Path type you would like to change to. E.g. from ‘Straight Line’ to ‘Trace Line’.
Check out this video to learn more.
Tap on Edit;
Tap on Edit Paths (this will automatically select all the Paths);
Select the Path you would like to change;
Tap on Change Path Type;
Choose the Path type you would like to change to. E.g. from ‘Straight Line’ to ‘Trace Line’.